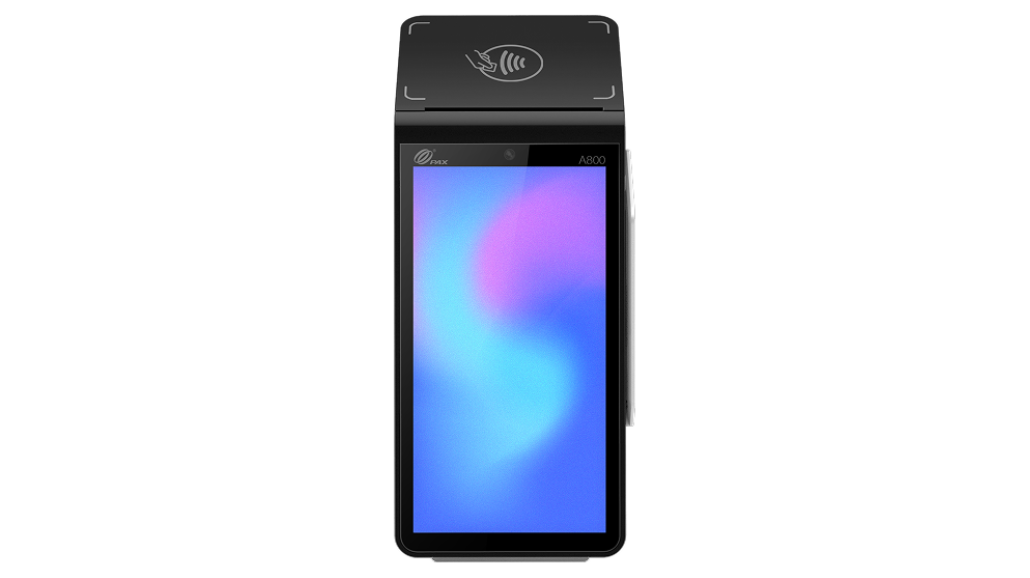
Omella Handheld Card Reader Manual and FAQ

In this Article
Get help and answers for your Omella Handheld
Please email help@omella.com a few days before your first in person collection with the date and time so we can make sure someone on our team is on call via phone to help with any urgent issues.

Accepting Payments Made Easy with Omella Handheld Card Reader 💳

One time setup: Adding new readers

Please email help@omella.com to add new readers to your organization(s) once they arrive. This is a one-time process.


How to connect to a reader

  1. Connect the reader to Wi-Fi
    1. Tap the top gray bar and drag down to reveal the notification drawer
    2. Tap and hold the leftmost Wi-Fi icon to reveal Wi-Fi settings
    3. Find your network and connect. Once you’ve connected, click the back button to return to the payments app
  2. Select the page for which you want to accept payments
    1. Log into Omella.com
    2. Click “Share” (top right)
    3. Click the link to open the payer page
    4. Click “In Person Payments” at the top
    5. Click “Connect” next to the reader you want to connect to.
All of your readers will show up under “Card Readers”. If any do not, email Omella to add them (one time process)

If you have more than one reader, you can identify the one you would like to connect to by locating the serial number located on the bottom back of your reader (it starts with S/N).
  1. Accept payments
    1. Once connected, go to any Omella payer page that you want to accept payments for (visit Step 2 number 1-3 to find a page).
    2. Fill it out by selecting the items that you want to charge for and press continue
    3. Select “Charge with card reader” and continue to follow the prompts on the card reader
Up next
POS Omella Go Card Reader for Schools
You will find the guidance you need if you're experiencing issues with your Omella Go reader
Read More

What’s a Rich Text element?

The rich text element allows you to create and format headings, paragraphs, blockquotes, images, and video all in one place instead of having to add and format them individually. Just double-click and easily create content.

Static and dynamic content editing

A rich text element can be used with static or dynamic content. For static content, just drop it into any page and begin editing. For dynamic content, add a rich text field to any collection and then connect a rich text element to that field in the settings panel. Voila!

How to customize formatting for each rich text

Headings, paragraphs, blockquotes, figures, images, and figure captions can all be styled after a class is added to the rich text element using the "When inside of" nested selector system.