How to accept in person payments on Omella using Tap to Pay on iPhone (no hardware required) or the Stripe M2 Card Reader

In this Article
You will find the guidance you need if you're experiencing issues with your POS reader or Tap to Pay

Recommendations before you start

  • Follow the steps below and test a $1 charge before your first live event. If you need an example page to test, you can copy this template to your organization by clicking "Save".
  • If you will be using your school's WiFi, please run this test using that same WiFi to anticipate any possible firewall rules that may block payments and contact help@omella.com to work with your IT staff.
  • We want to make sure your first event is stress free. Feel free to email the date, time and page to help@omella.com so we can monitor and be available.

The gist:

  1. Sign into the Omella app on your iPhone, iPad or Mac
  2. Navigate to any payer page and press "continue" to go to checkout
  3. Choose how you would like to accept payment: Tap to Pay on iPhone, Card Reader or Cash or Check

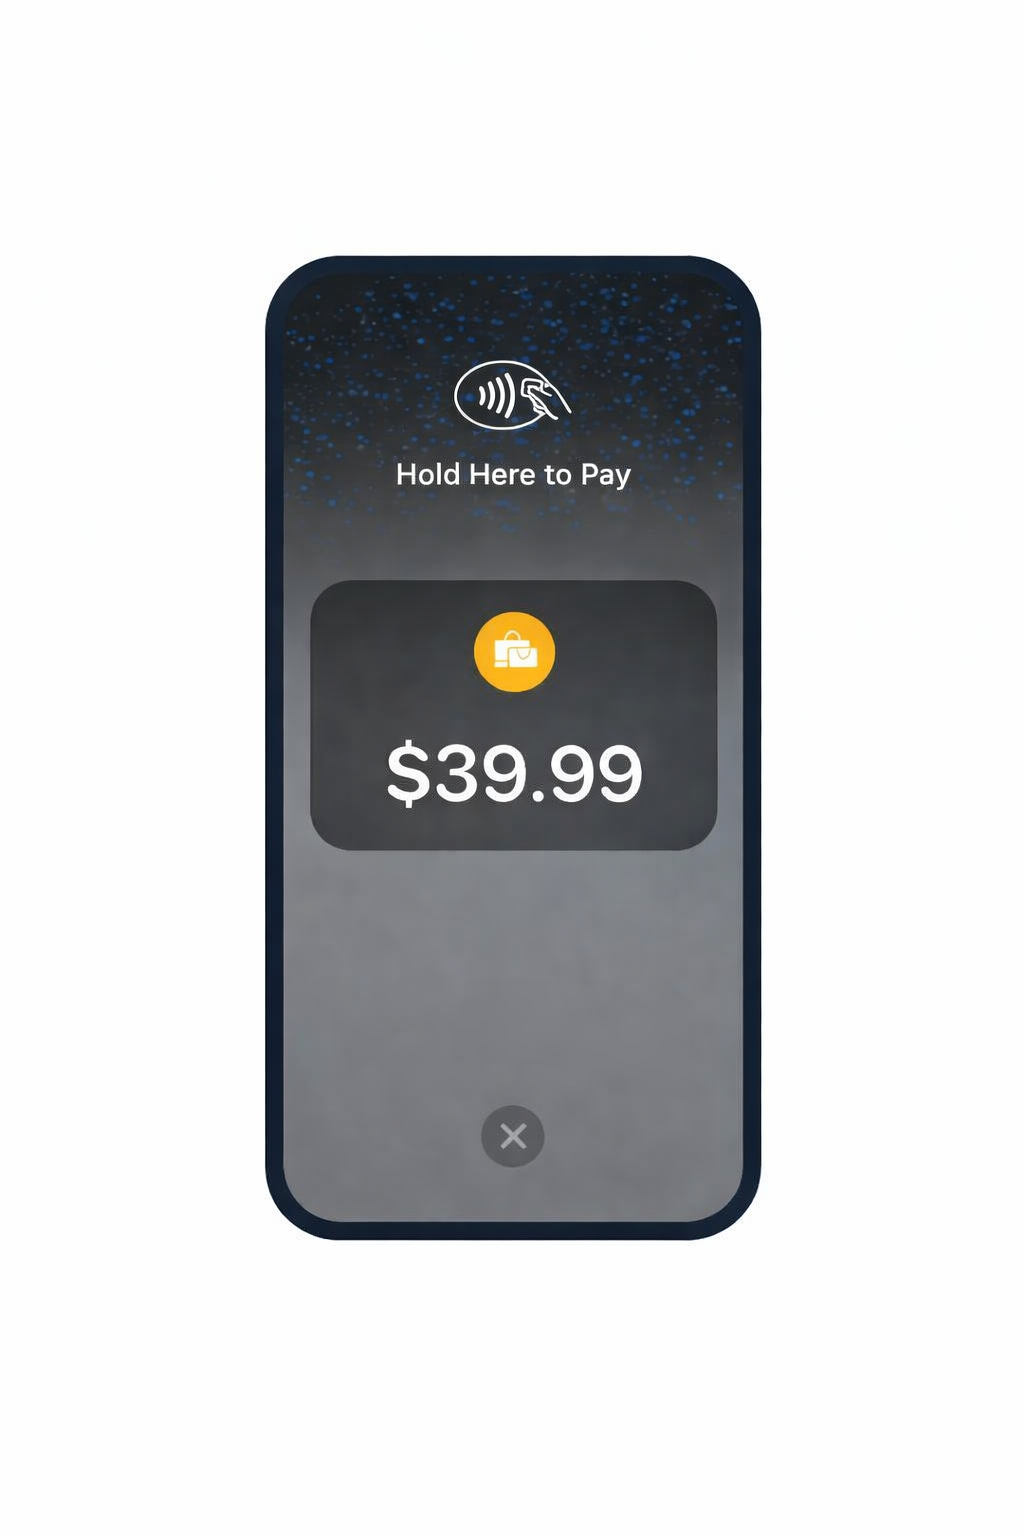
If you chose Tap to Pay on iPhone

  1. At checkout, select "Tap to Pay on iPhone”
  2. Once it's ready, follow the prompt to complete payment by holding a card to your phone horizontally
Note: If this is the first time you are enabling Tap to Pay, it will take 3-4 minutes to update. Future attempts to enable it should occur instantly.

If you chose Card Reader

  1. At checkout, select "Connect to Reader”
  2. Power on your reader by pressing the button on the side
  3. Select the reader once it appears under "Readers”
  4. Once connected, press "Charge with Card Reader" on the checkout page
  5. Tap or insert your card in the reader to complete payment
Note: If this is the first time you are connecting to the reader, it will take 3-4 minutes to update. Future attempts to connect should occur instantly.
See multiple readers? Don't see any? Refer to the FAQ below.
Up next
Create your first page
A page is a blank slate where you can decide how simple or complex you want it to be. Start by clicking the + then build your page with blocks.
Read More

What’s a Rich Text element?

The rich text element allows you to create and format headings, paragraphs, blockquotes, images, and video all in one place instead of having to add and format them individually. Just double-click and easily create content.

Static and dynamic content editing

A rich text element can be used with static or dynamic content. For static content, just drop it into any page and begin editing. For dynamic content, add a rich text field to any collection and then connect a rich text element to that field in the settings panel. Voila!

How to customize formatting for each rich text

Headings, paragraphs, blockquotes, figures, images, and figure captions can all be styled after a class is added to the rich text element using the "When inside of" nested selector system.