

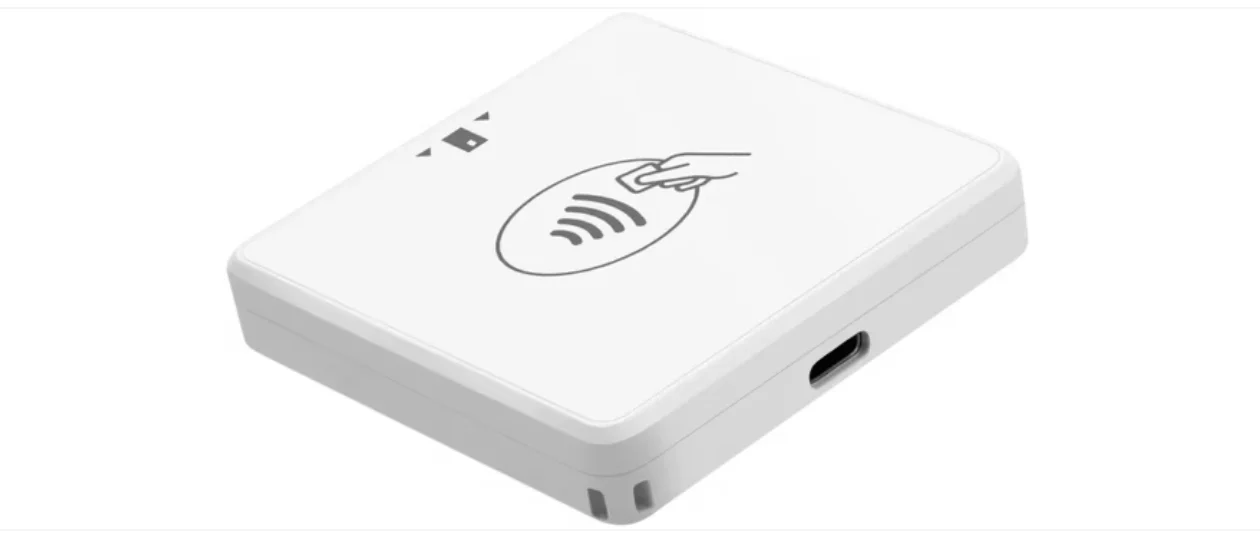
Recommendations before you start
- Follow the steps below and test a $1 charge before your first live event. If you need an example page to test, you can copy this template to your organization by clicking "Save".
- If you will be using your school's WiFi, please run this test using that same WiFi to anticipate any possible firewall rules that may block payments and contact help@omella.com to work with your IT staff.
- We want to make sure your first event is stress free. Feel free to email the date, time and page to help@omella.com so we can monitor and be available.
Step 1: Charge your reader
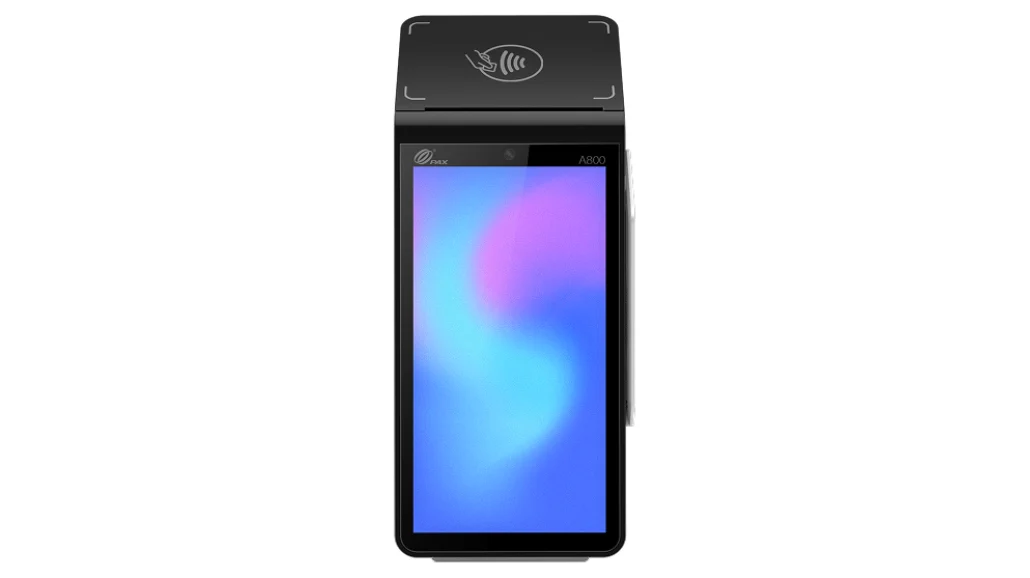
- Plug in your reader and charge it for 2 hours (just plug it in and leave it).
- While it charges, download the Omella app on your device and sign in with your existing Omella credentials: Apple Store or Play Store.
Step 2: Connect it
- Once fully charged, press the power button on the side of the reader.
- Open the Omella app and tap the black bar at the top ("Enable Card Reader") to connect to the reader via Bluetooth.
- Click "Omella Go", then select the reader once it appears under "Readers".
- Once connected, click the arrow in the top-left corner of the screen to return to the dashboard. The black bar at the top should now read "Reader Ready - Select a Space".
Note: If this is the first time you are connecting to the reader, it will take 5 minutes to complete all updates. Future attempts to connect should occur instantly.
Step 3: Accept payments
- Open the payment page, select the items and head to checkout
- Press "Charge with Card Reader"
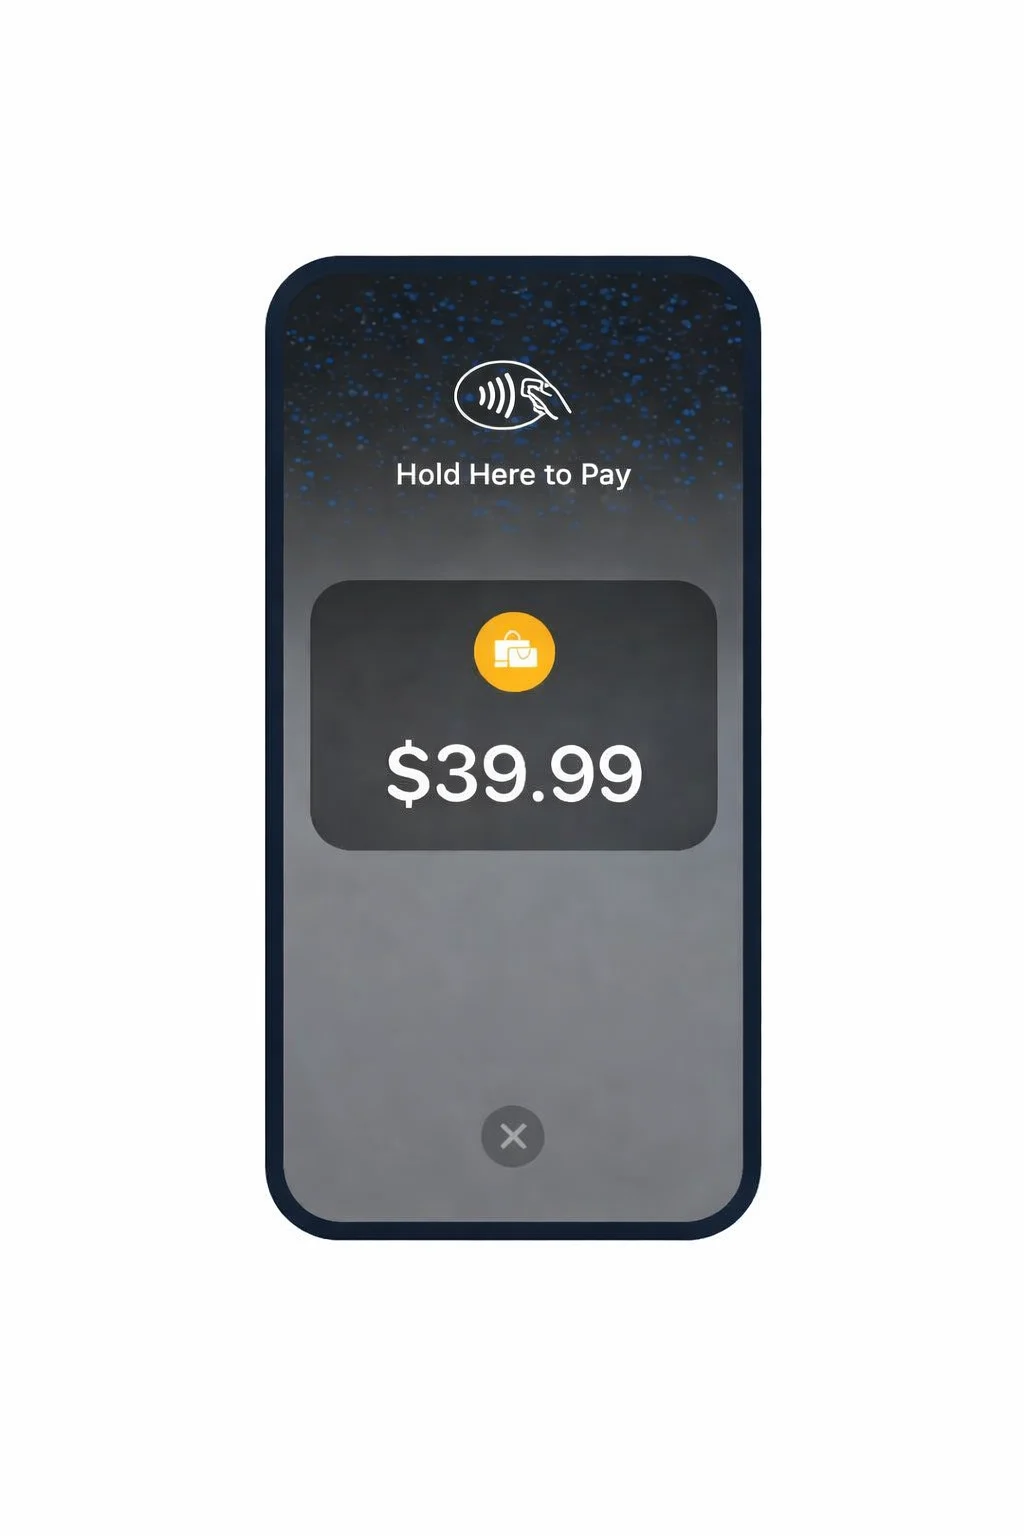
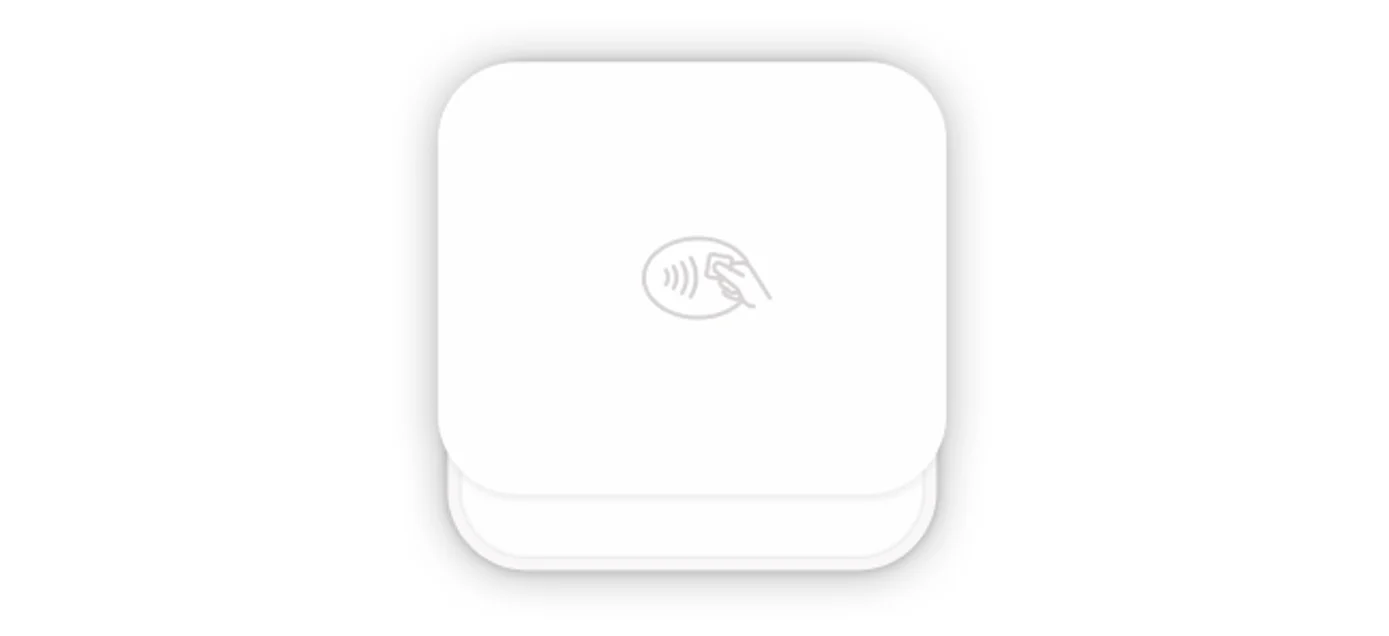
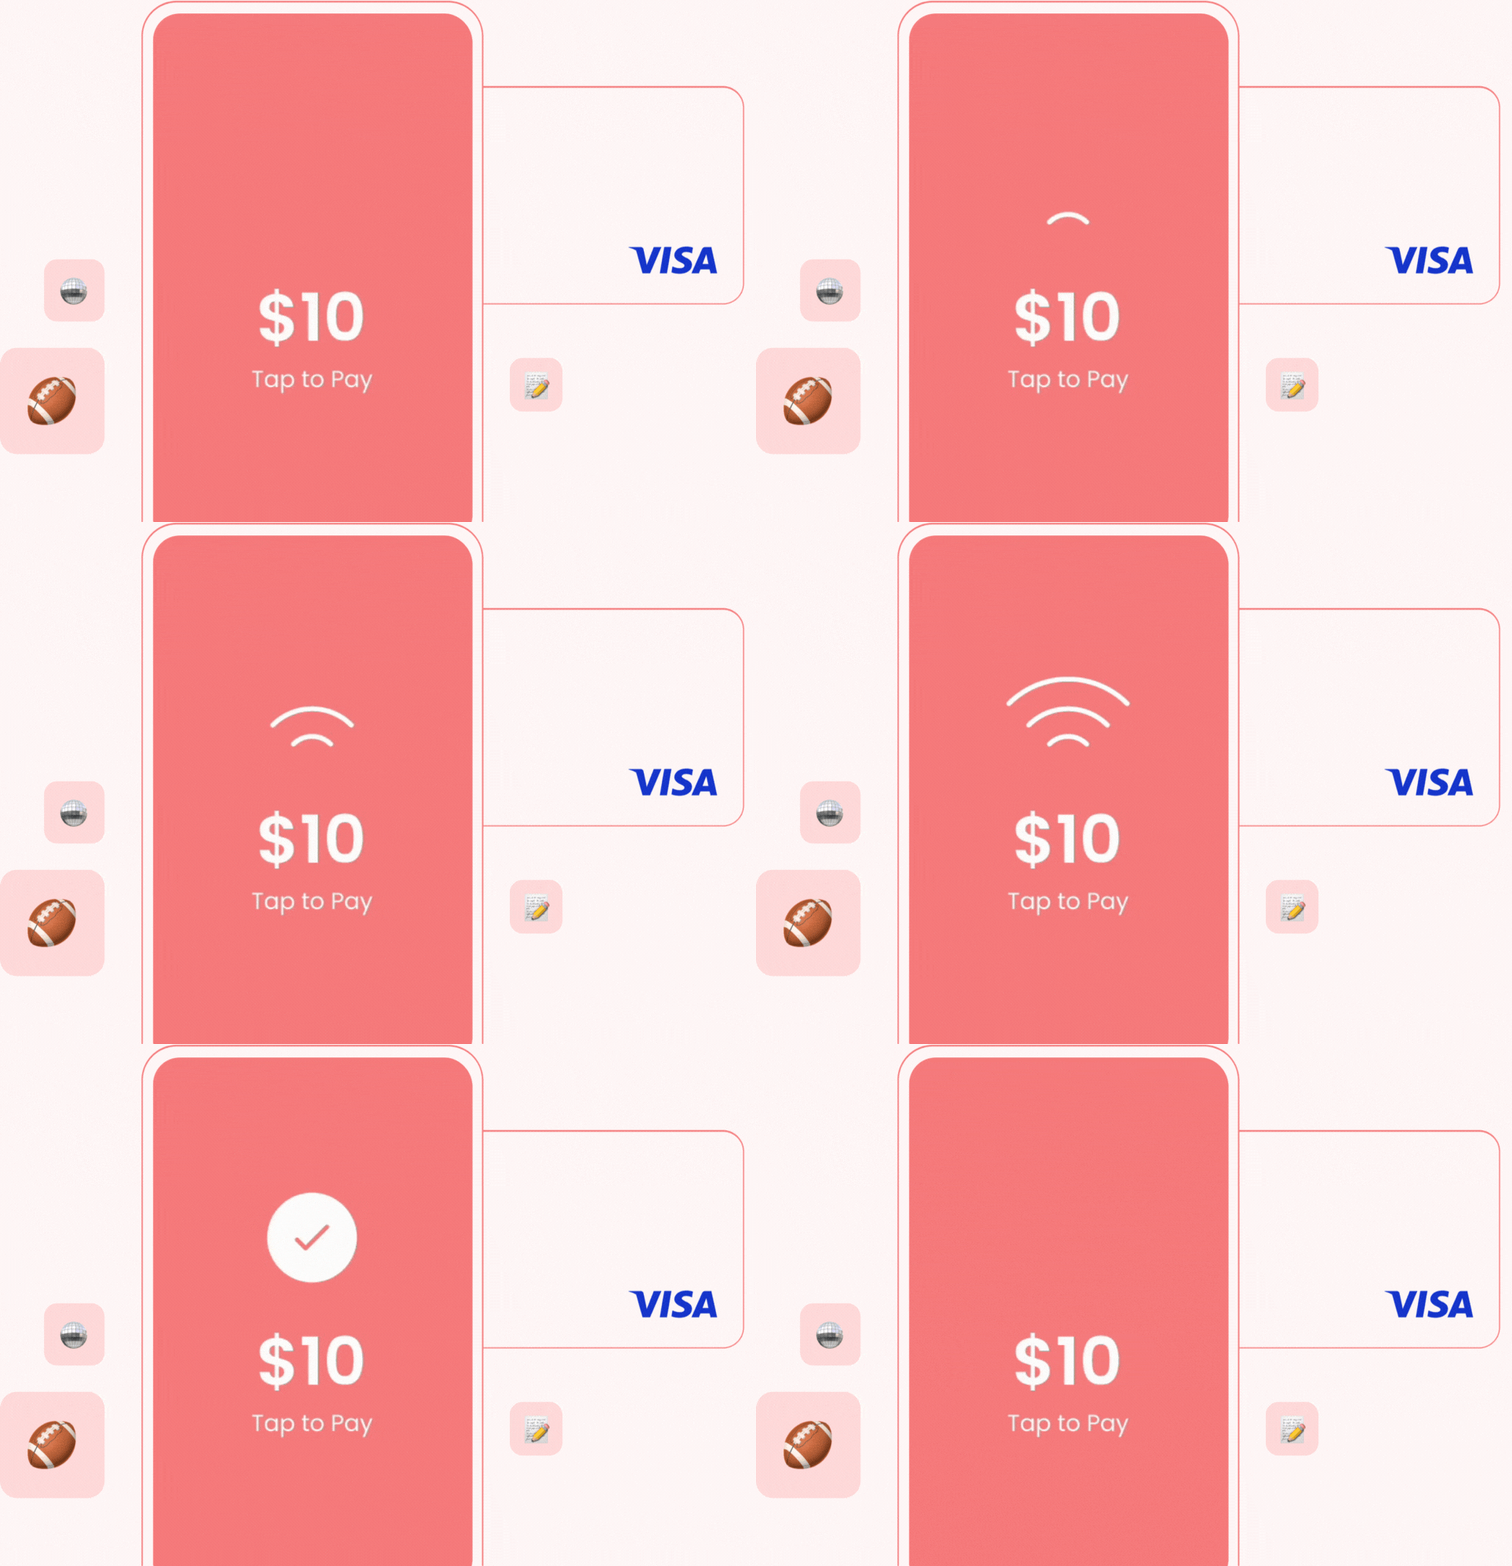
- Tap or insert your card in the reader to complete the payment
- Rinse, repeat!
🎥 Video Walkthrough